This easy Russian dill pickles family recipe is made with herbs, garlic, and peppercorns and gives you crunchy, refreshing, flavorful, and healthy marinated cucumbers that everyone will love!
Dill pickles are probably the most popular Russian pickles, usually being present at every celebration table as a part of zakuski (hors d'oeuvres) together with pickled tomatoes and homemade sauerkraut.
Homemade dill pickles are so much easier to make than most people realize. And if you've never pickled anything before, you're in for a treat! These quick pickled cucumbers are so simple, you don't need any prior experience.
Moreover, this is the best dill pickle recipe you'll ever try!
What Are The Best Cucumbers For Marinated Pickled Recipes?
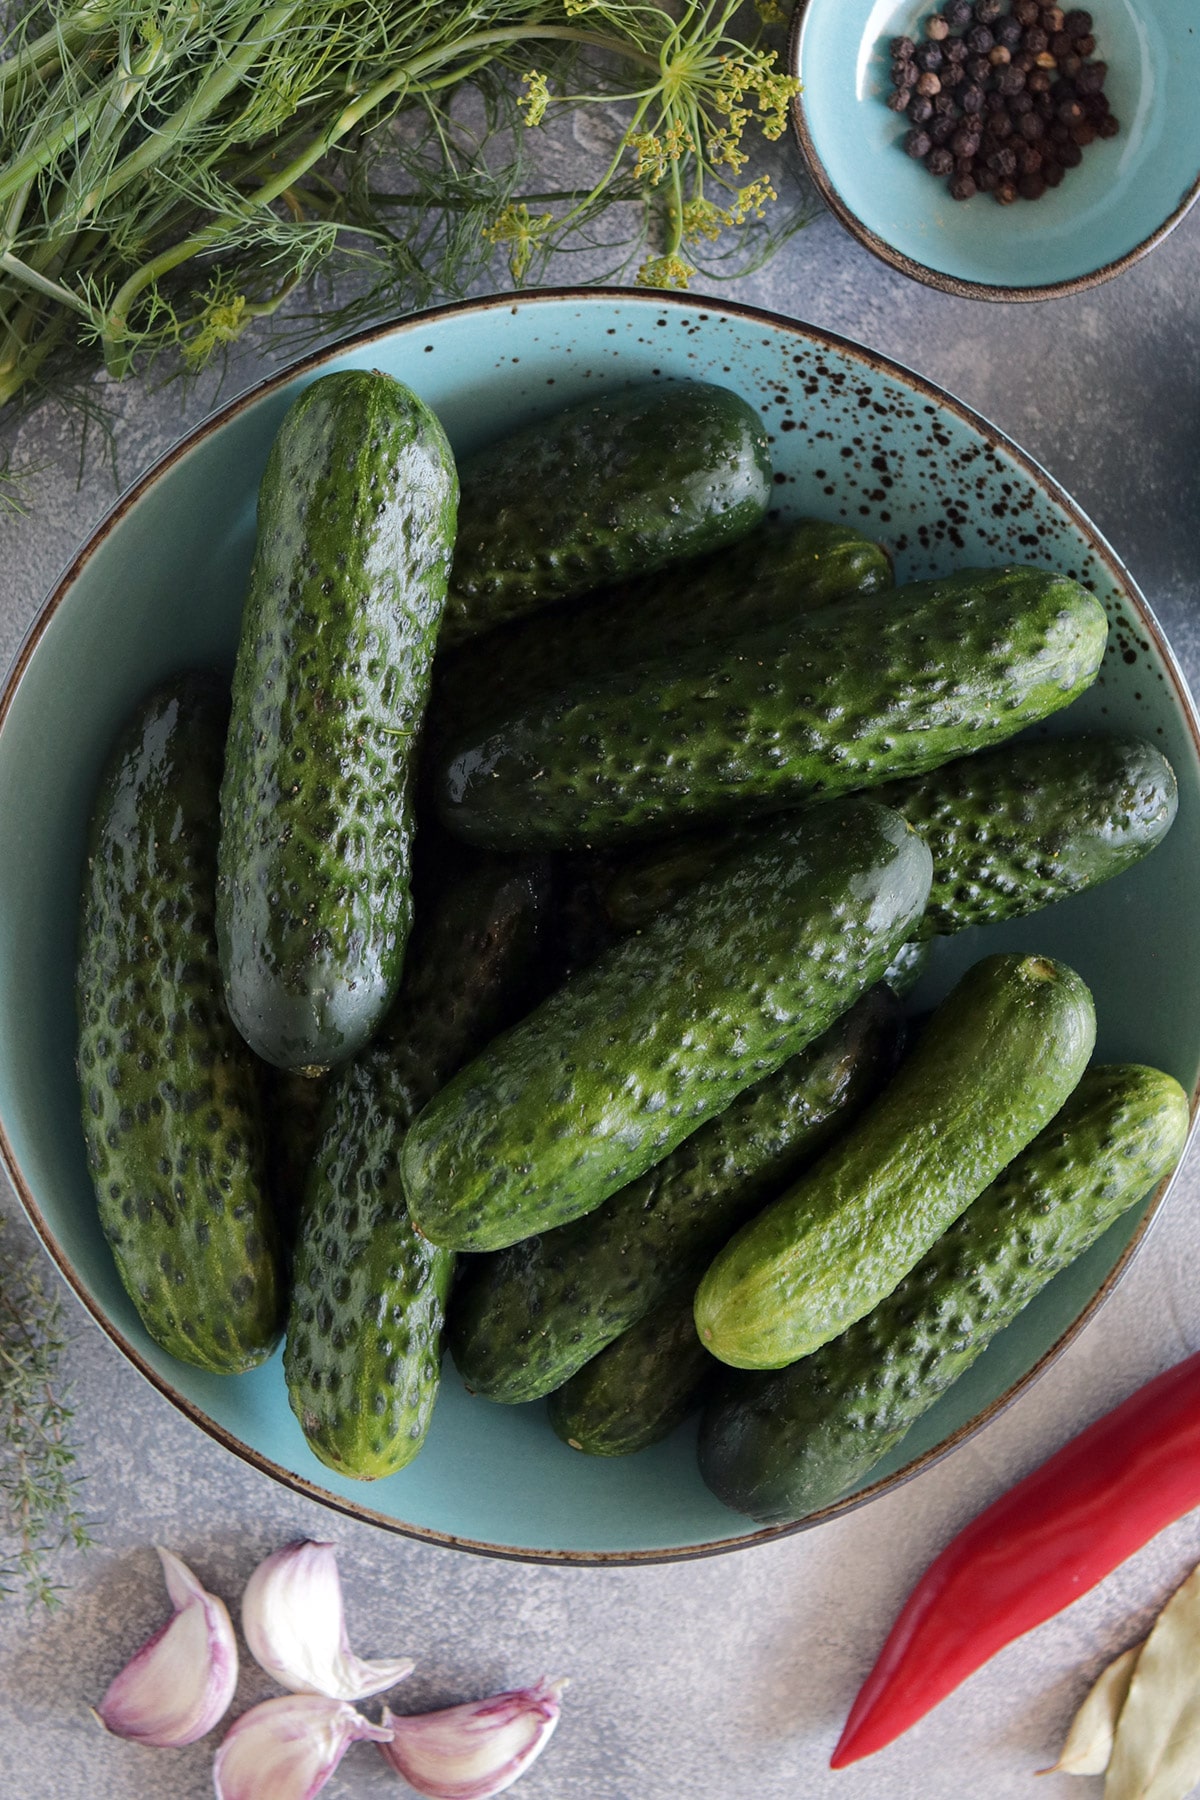
One of the most important steps in making this simple Russian pickle recipe is choosing the right cucumbers.
The "normal" big cucumbers with their thick skins are pretty watery, which also means they don't have a great flavor.
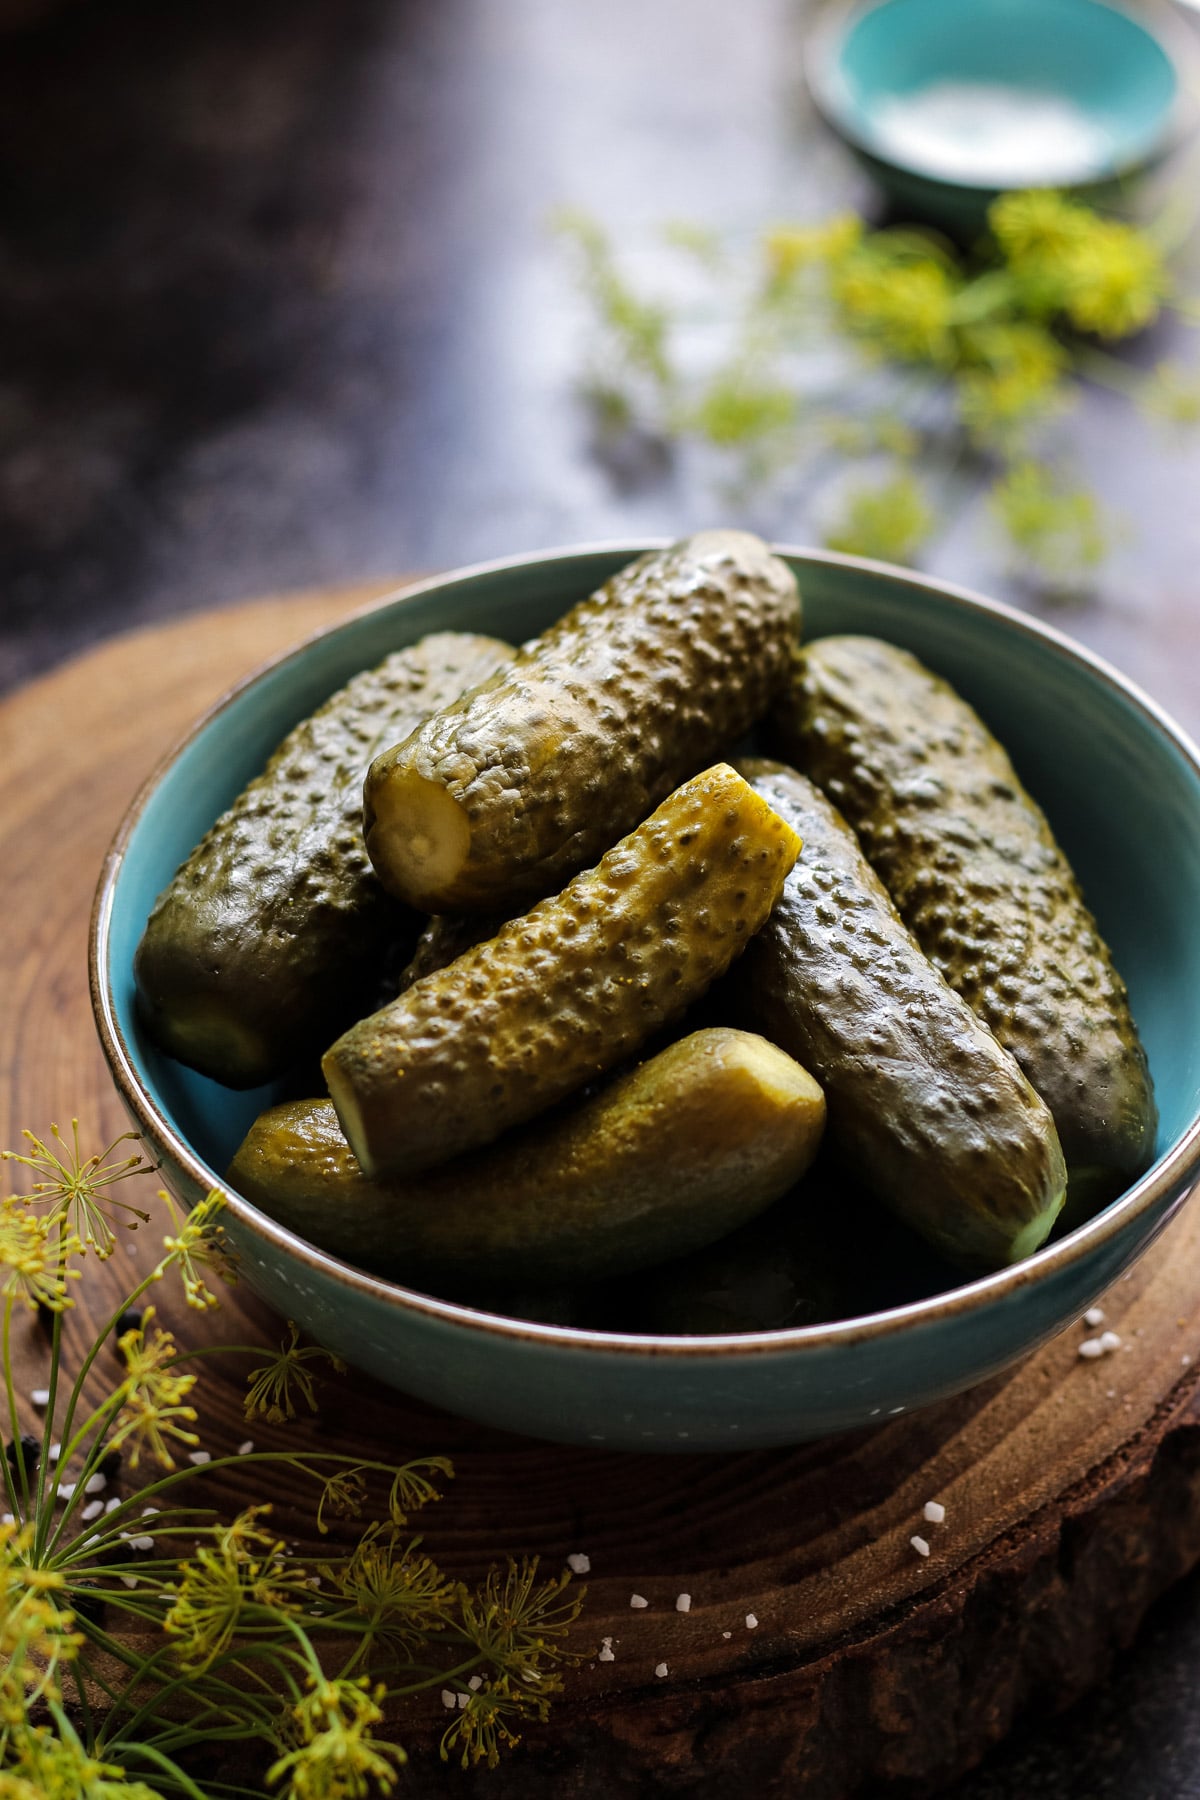
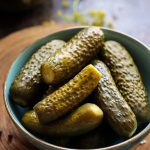
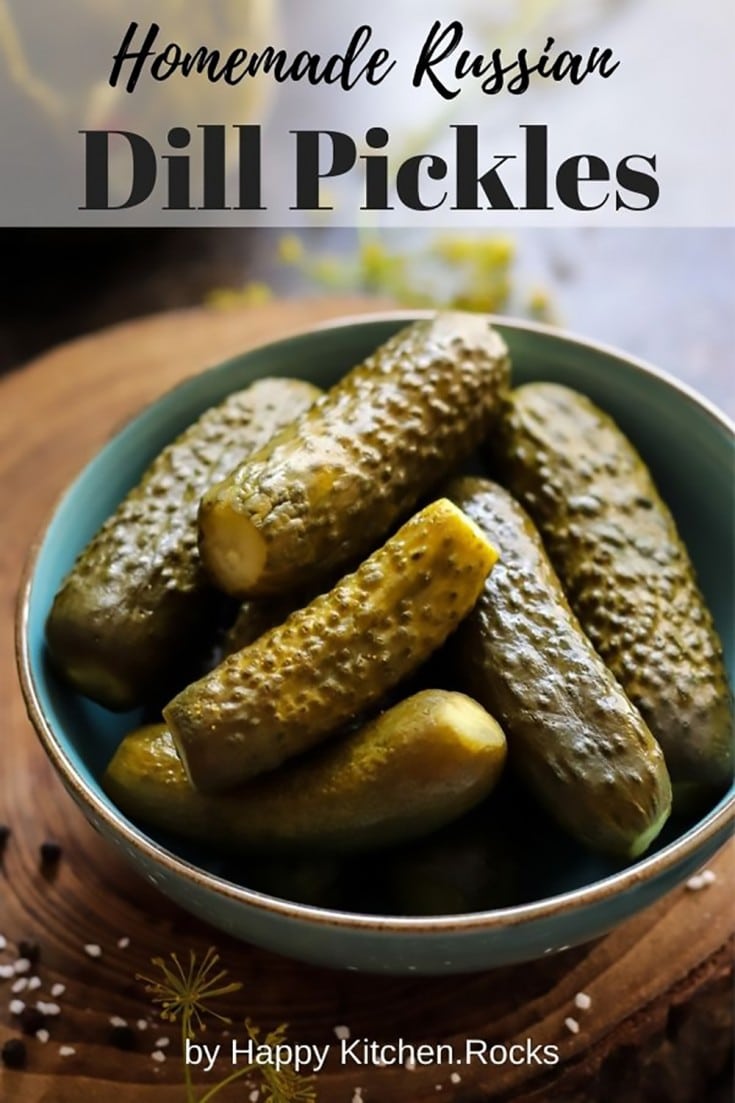
However, short bumpy cucumbers? SO.MUCH.FLAVOR. And perfect for making marinated cucumbers, especially picked fresh out of the garden.
These are called gherkins, and they really do make the best homemade dill pickles.
The types of cucumbers that are great for pickling are Kirby, Northern pickling cucumber, Ashley, Marketer, Marketmore 76, Muncher, Salad Bush, Boston pickling, Bush pickle, Calypso, Carolina, Fancipak, National pickling, Pick a bushel, Surpemo, etc.
Health Benefits Of Pickled Cucumbers
There are lots of nutritional benefits to pickling cucumbers.
Aside from the benefits of the cucumbers themselves, the fermentation (or pickling) process is also very beneficial to your body.
Pickled foods facilitate digestion because of lactic acid, which is created during the brining (especially important during holidays - that's why they are always served at celebrations) and activate the body's metabolic processes.
Together with pickled tomatoes, dill pickles are a traditional accompaniment to cold vodka, while the salty pickling liquid is known as the best hangover cure.
Also, many people will drink pickle juice as a fast acting electrolyte drink; it's even great for kicking the keto flu faster.
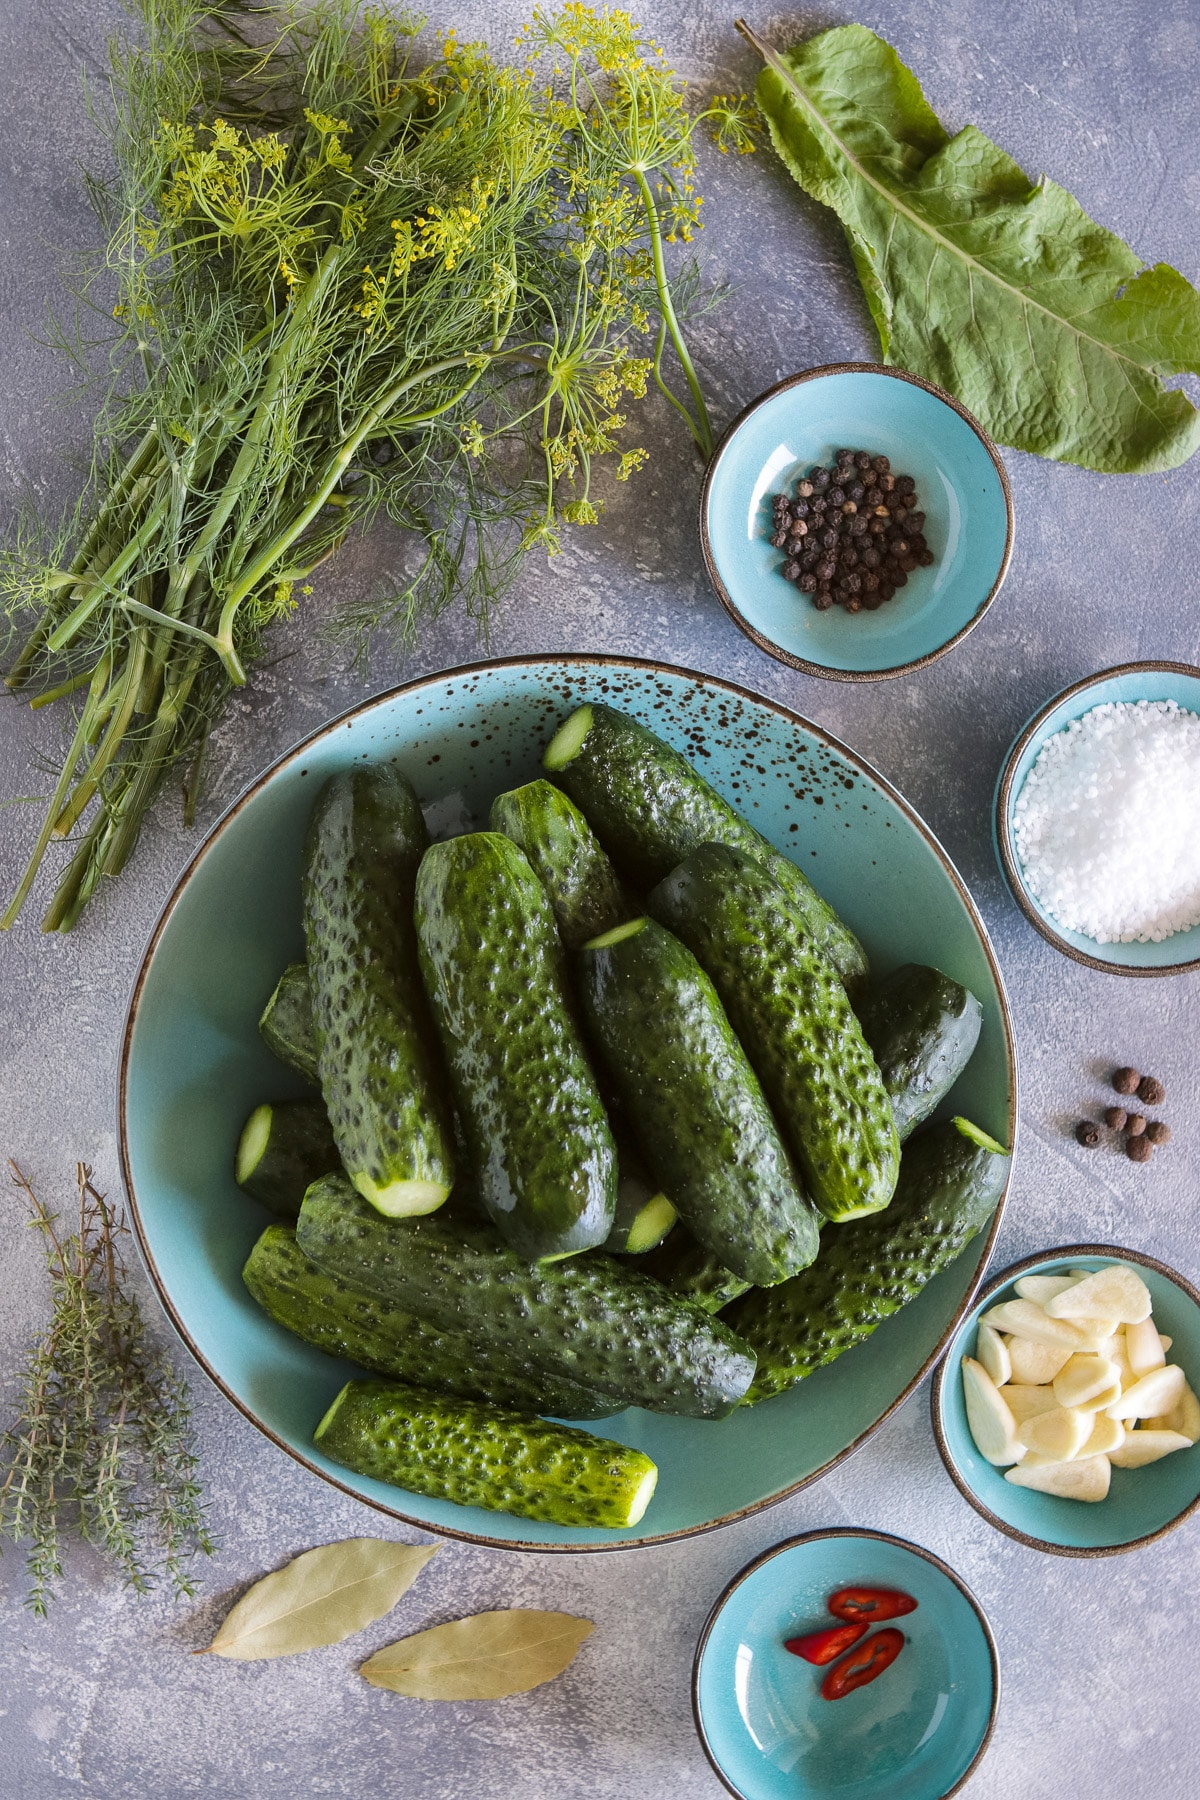
Ingredients
Remember, the first step is getting your gherkins. Ideally, your cucumbers should be short (up to 10 cm or 4 inches long), bumpy, thin-skinned, mat and firm.
You probably won't find these kinds of cucumbers outside of the season (which is July - August for Europe and North America) or if you will, they will be more expensive than their watery counterparts.
So while you can enjoy your homemade dill pickles year round, summer is the best time to make them.
The next important ingredient is dill. You will need the whole plant, including umbrellas.
I grow my own dill on the balcony (which works great for me) but I've seen it also in my local Russian and Turkish shops. Farmers markets are another easy place to find, as well as Whole Foods and Trader Joe's.
The rest of the ingredients you most likely already have in your pantry or kitchen. They include salt, your favorite herbs (I used thyme), garlic, bay leaves, chili pepper, allspice and black pepper.
Traditionally, Russian dill pickles are made with horseradish leaves, which are quite hard to find. I pickled gherkins with and without horseradish leaves and I found that it had no considerable effect on the taste.
However, if you can find them or want to grow them, they are healthy and add a hint of flavor you'll enjoy.
Pickling Preparations
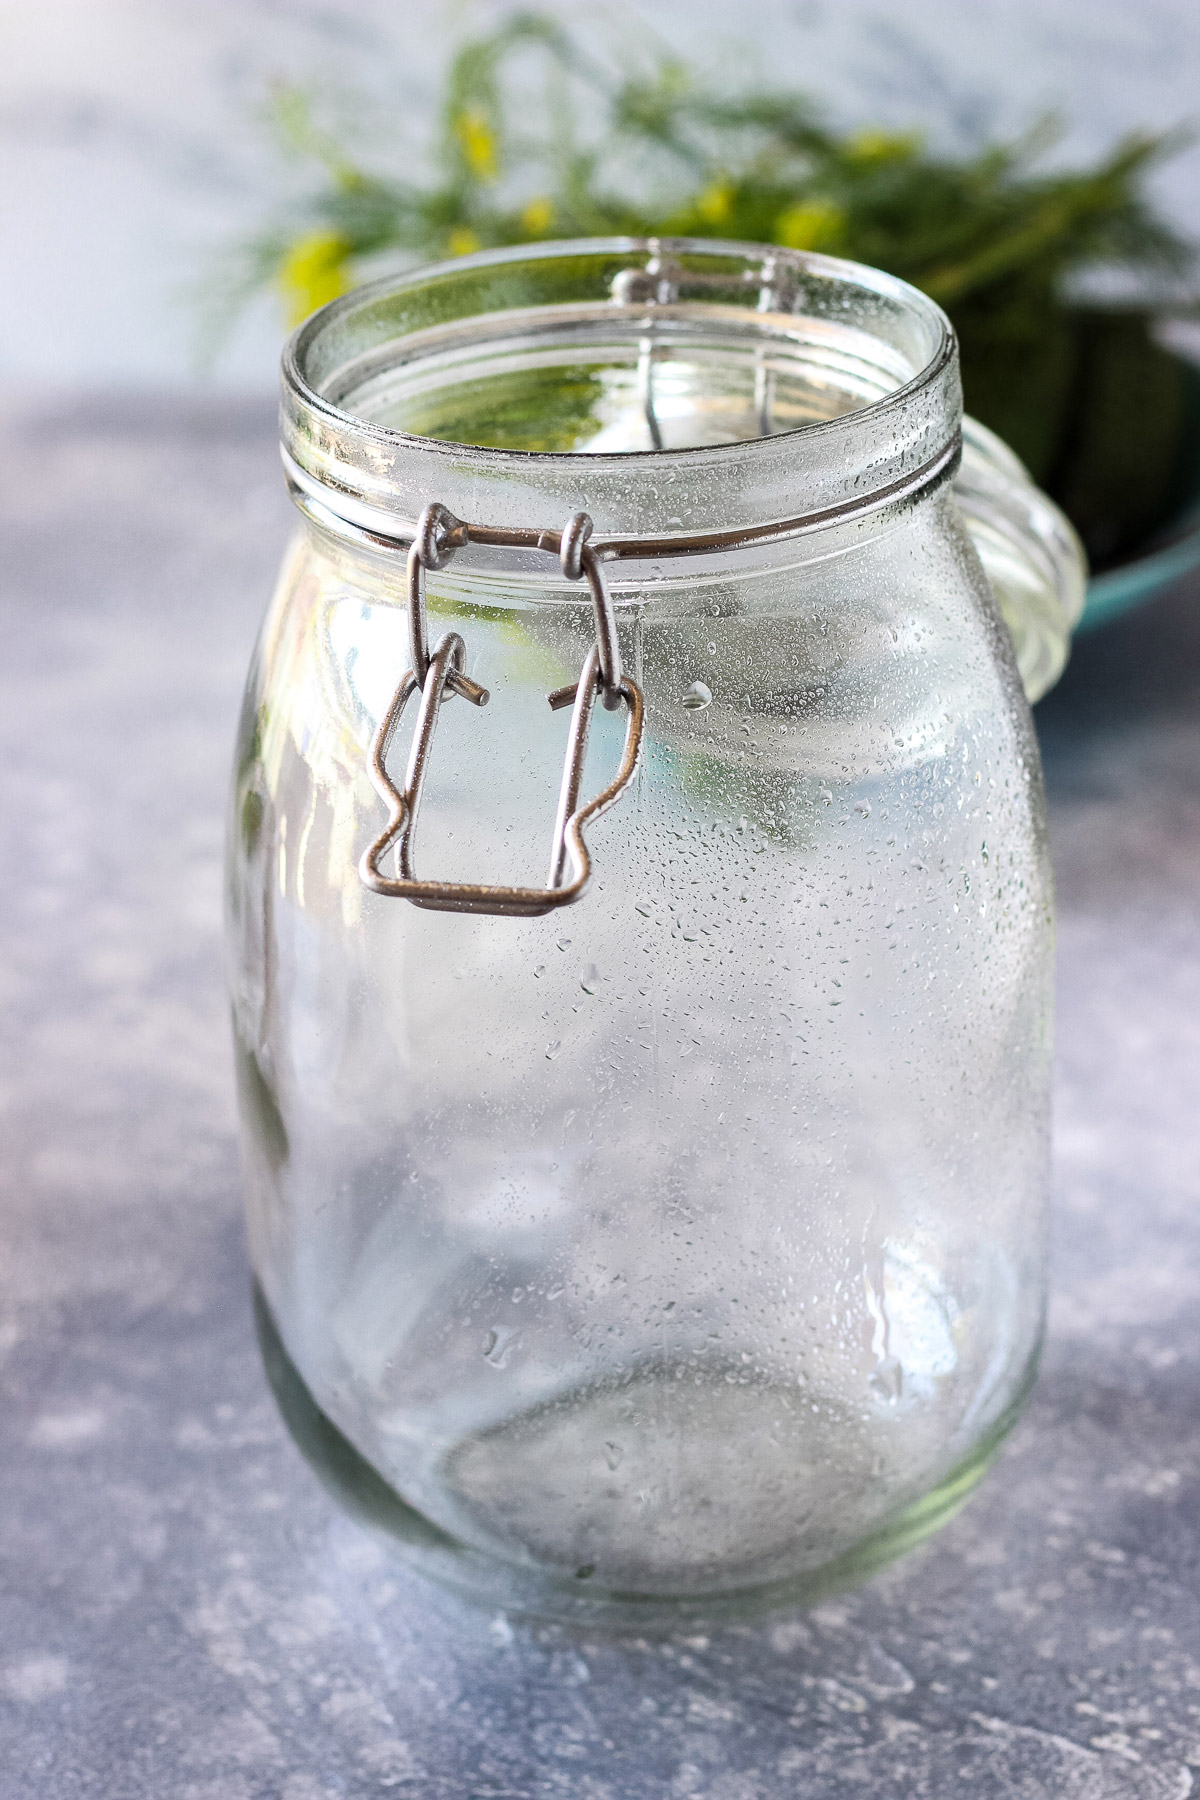
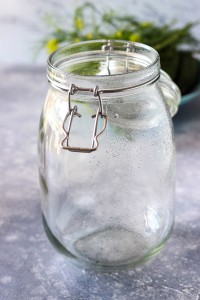
Start by sterilizing your jars before pickling. I usually boil them (together with lids) for at least 15 minutes and then let them dry.
Next, wash your cucumbers thoroughly and cut off the ends.
This way they will soak the brine easier, so your pickles will be ready sooner.
Then, prepare the brine by boiling water with coarse sea salt.
While you are bringing your brine to a boil, roughly chop the herbs, finely chop the chili pepper (you will only need a few slices) and slice the garlic.
Jarring Your Cucumbers For Marinating
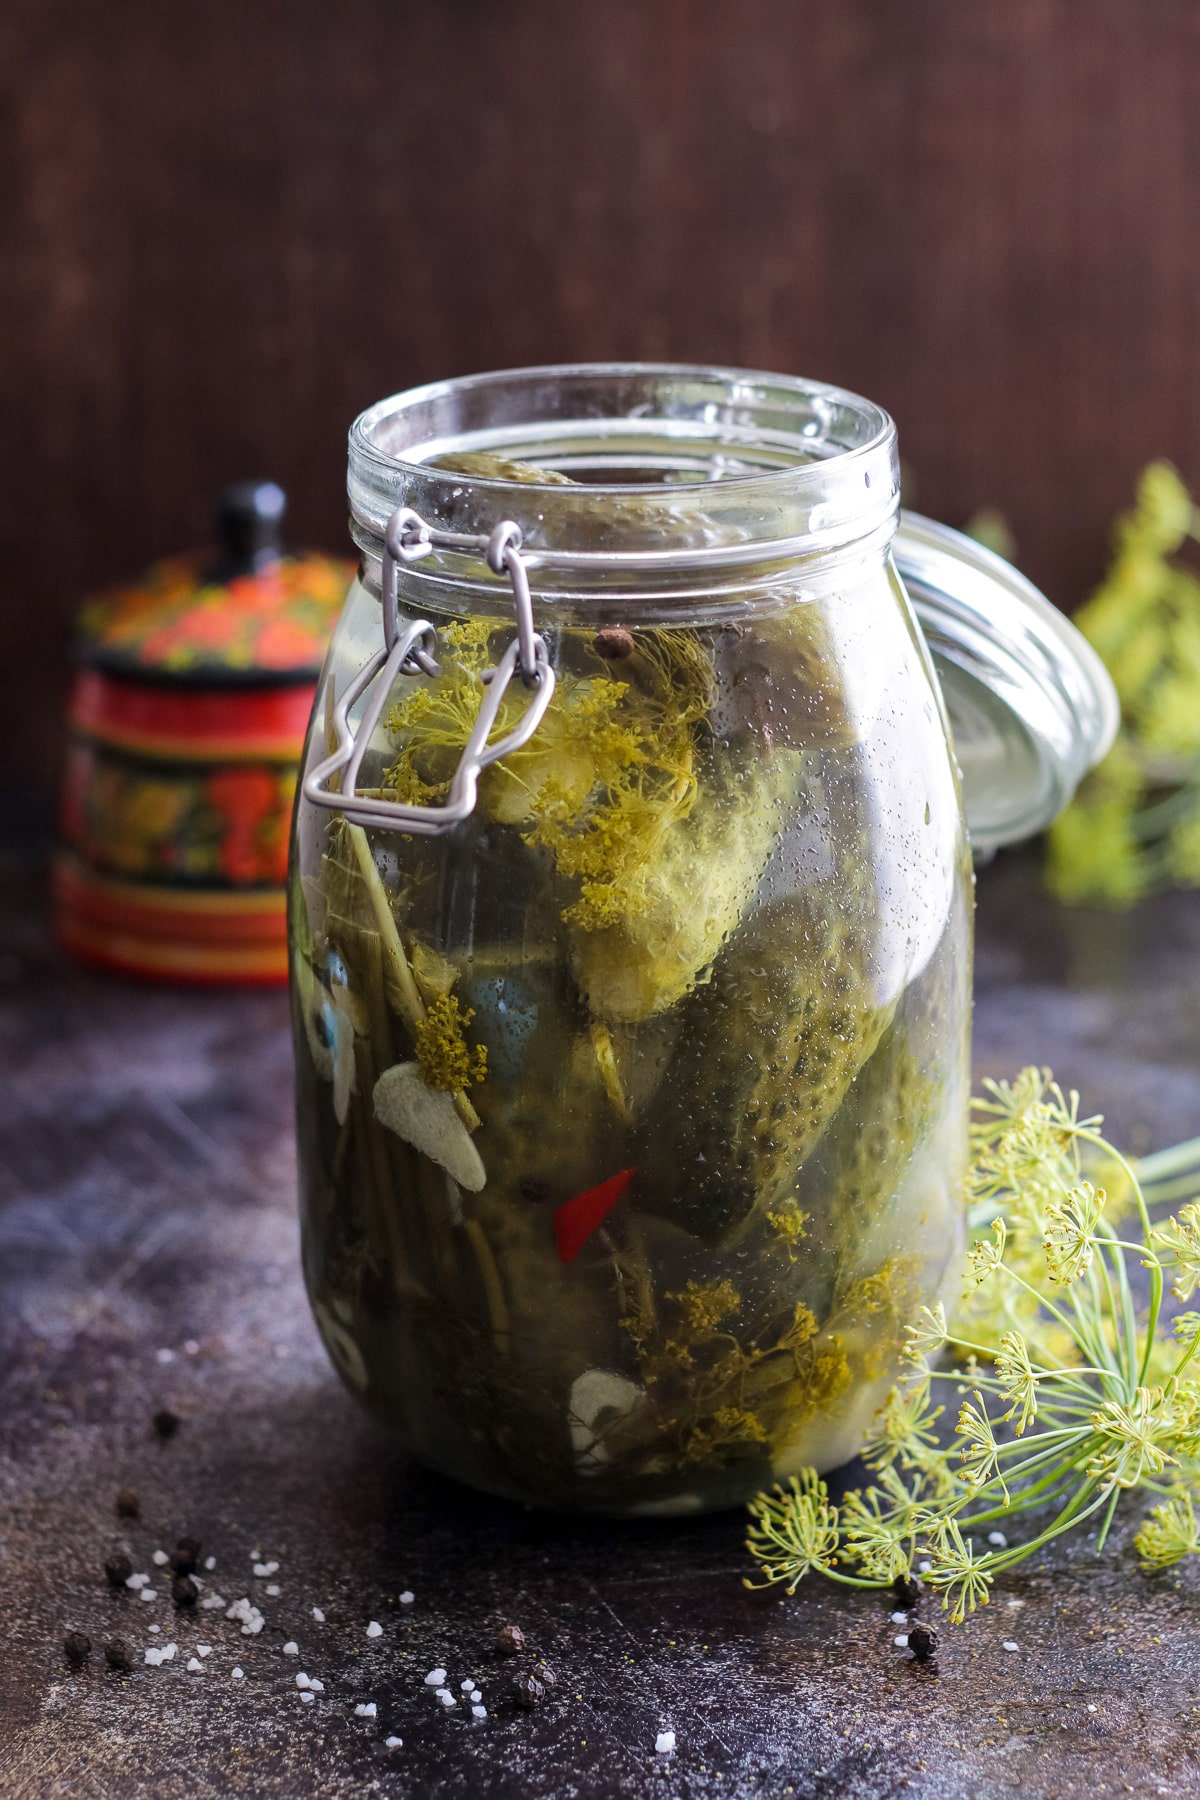
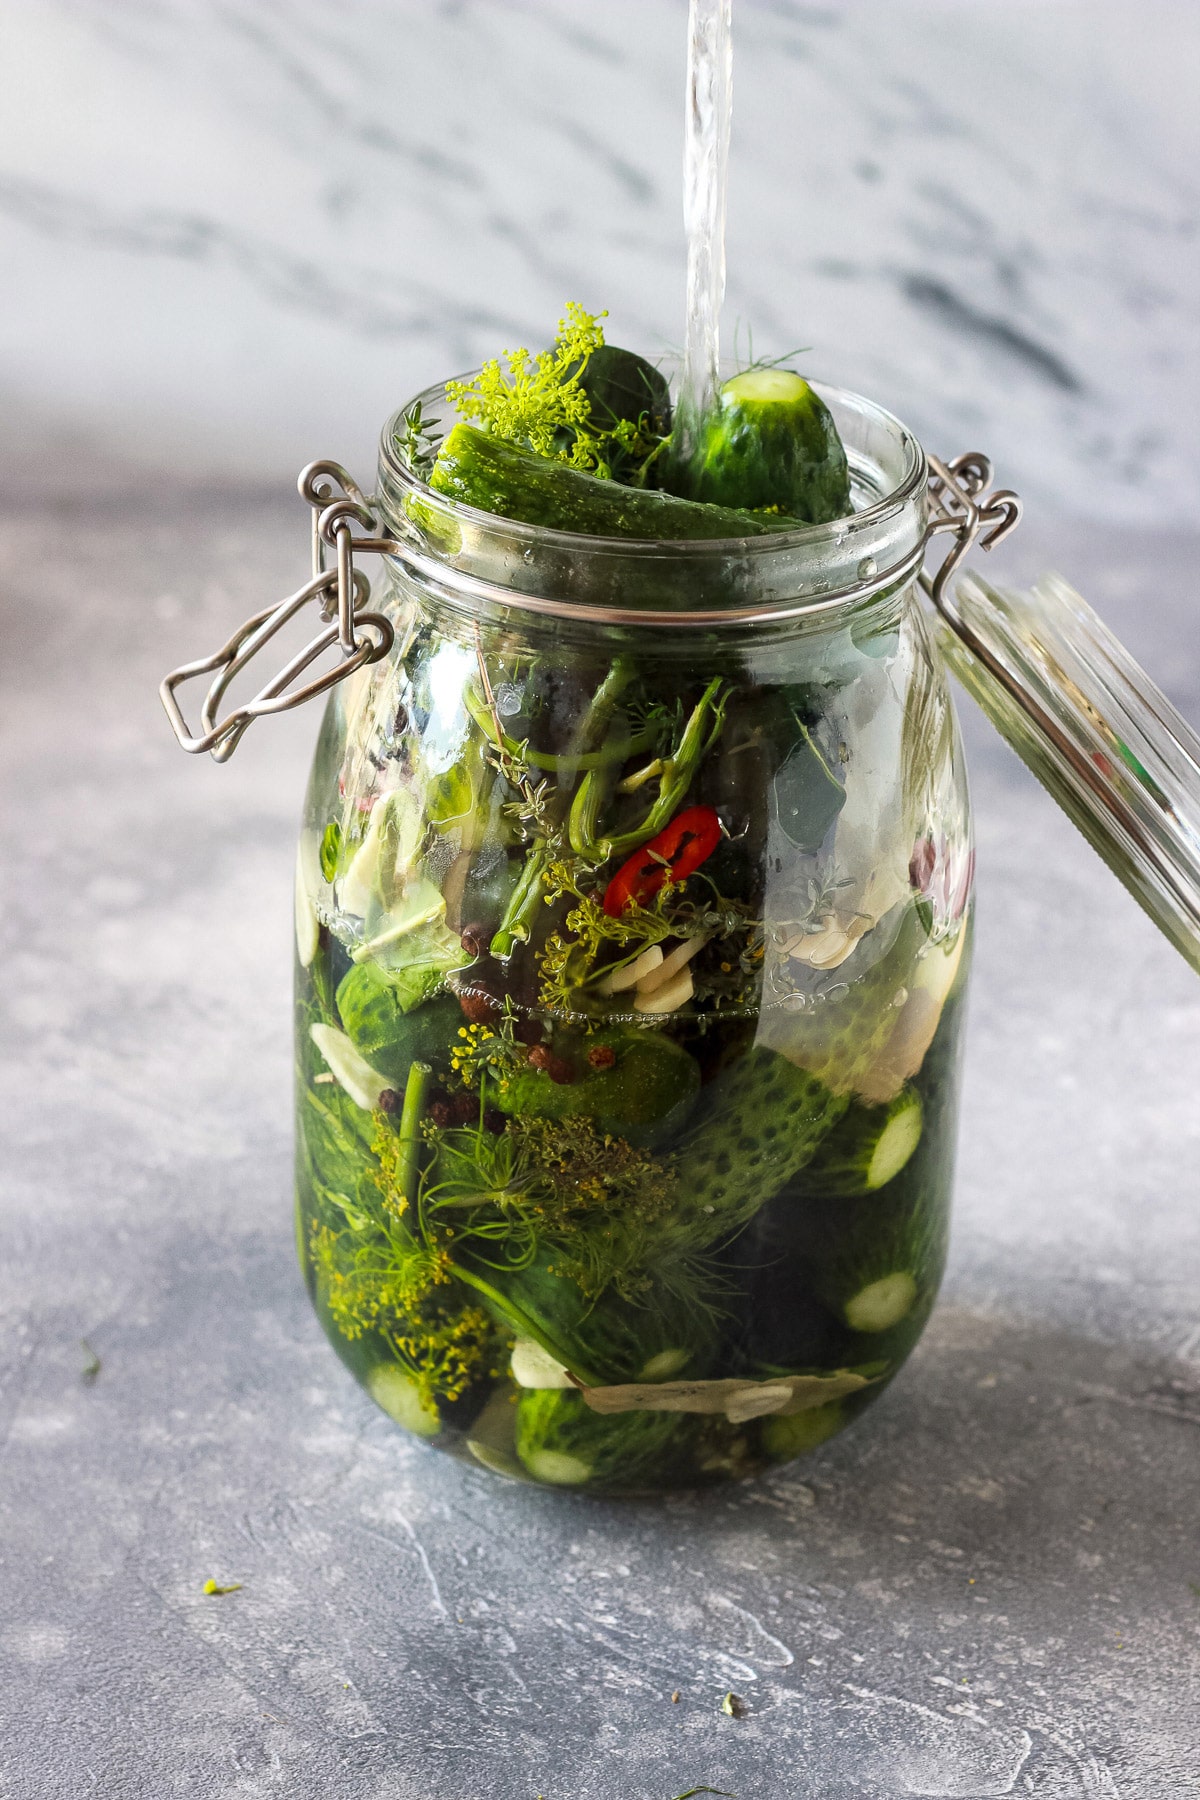
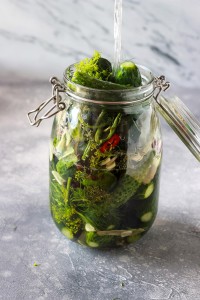
Transfer the cucumbers into a fitting sterilized jar, placing herbs, chili and garlic slices, bay leaves, allspice and black pepper in between the cucumbers.
While the brine is boiling, pour it into the jar and close the lid.
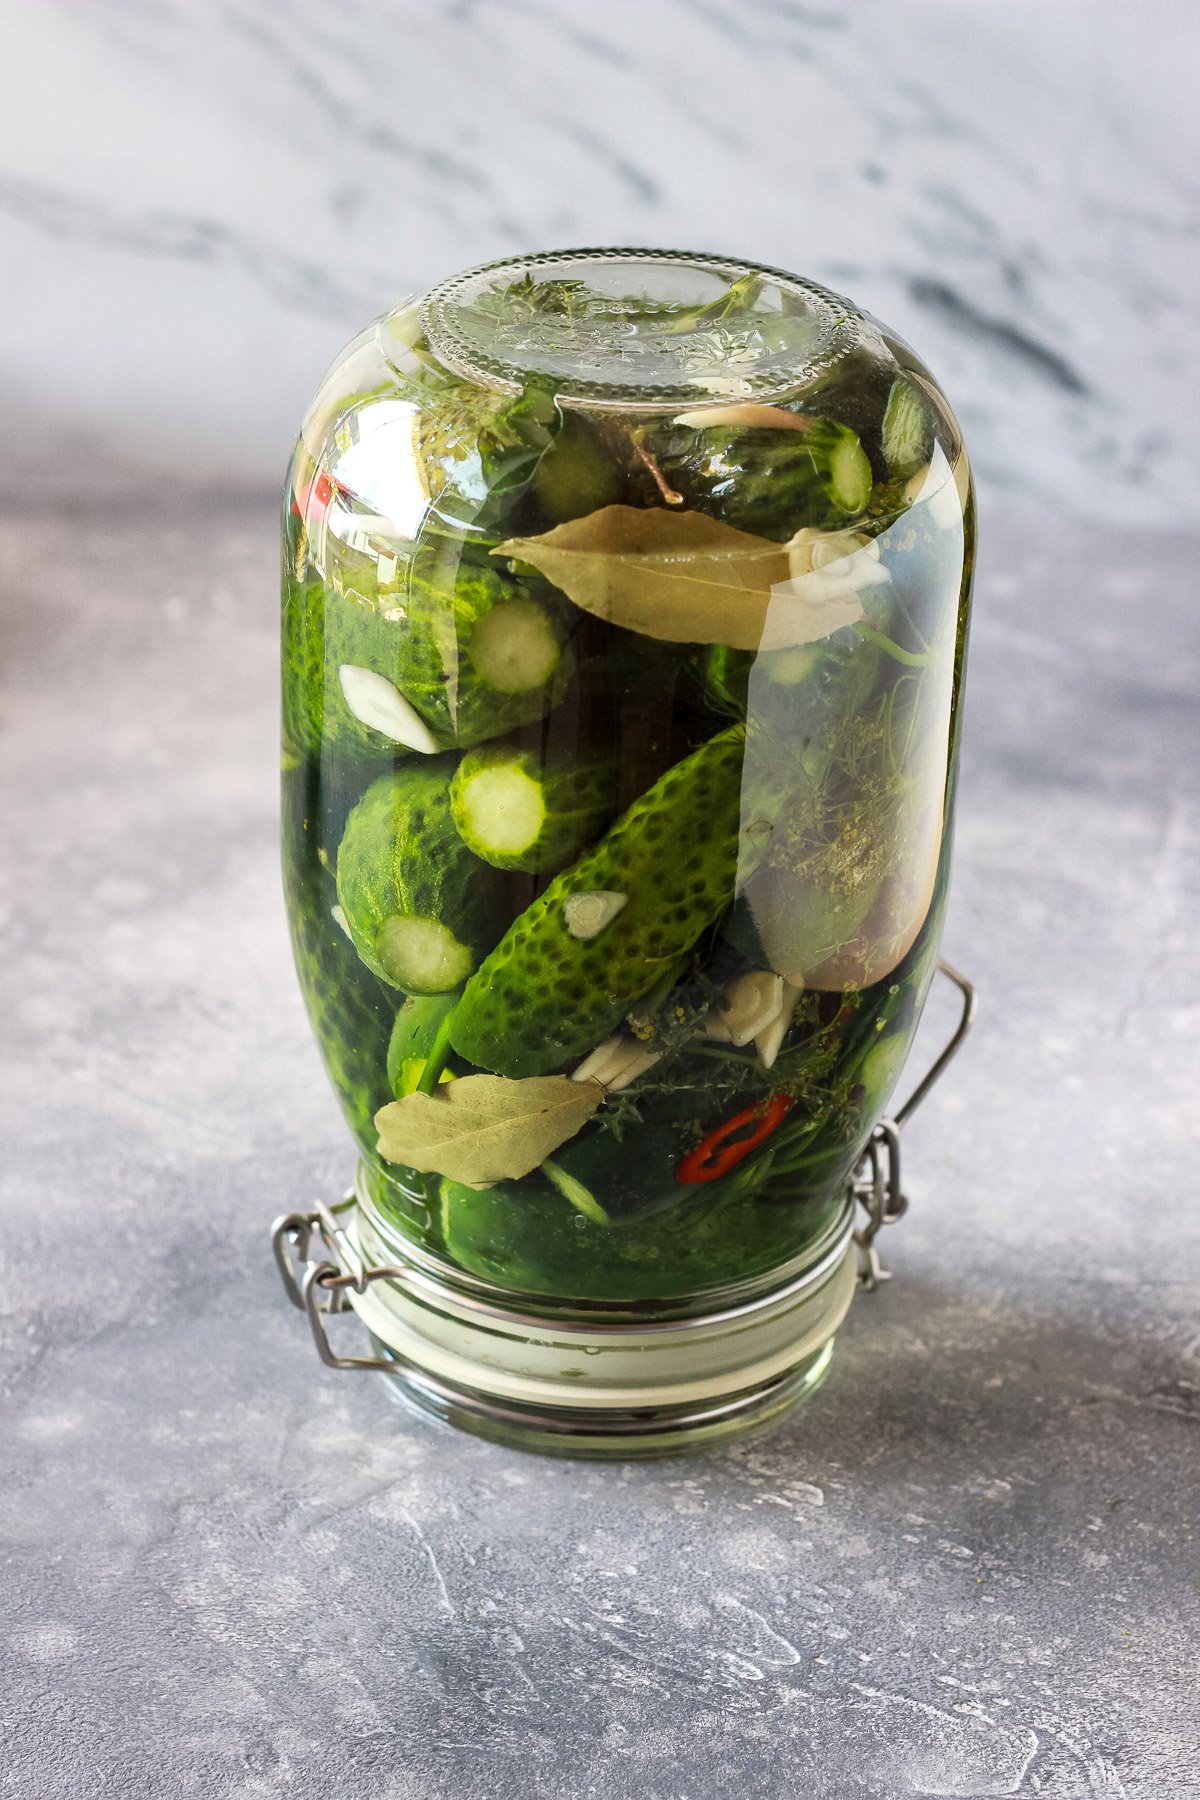
Turn the jar upside down and let it cool slowly (I usually put it on the couch and cover with a blanket).
Once it's cooled, let it rest for about 4 days in a cool place.
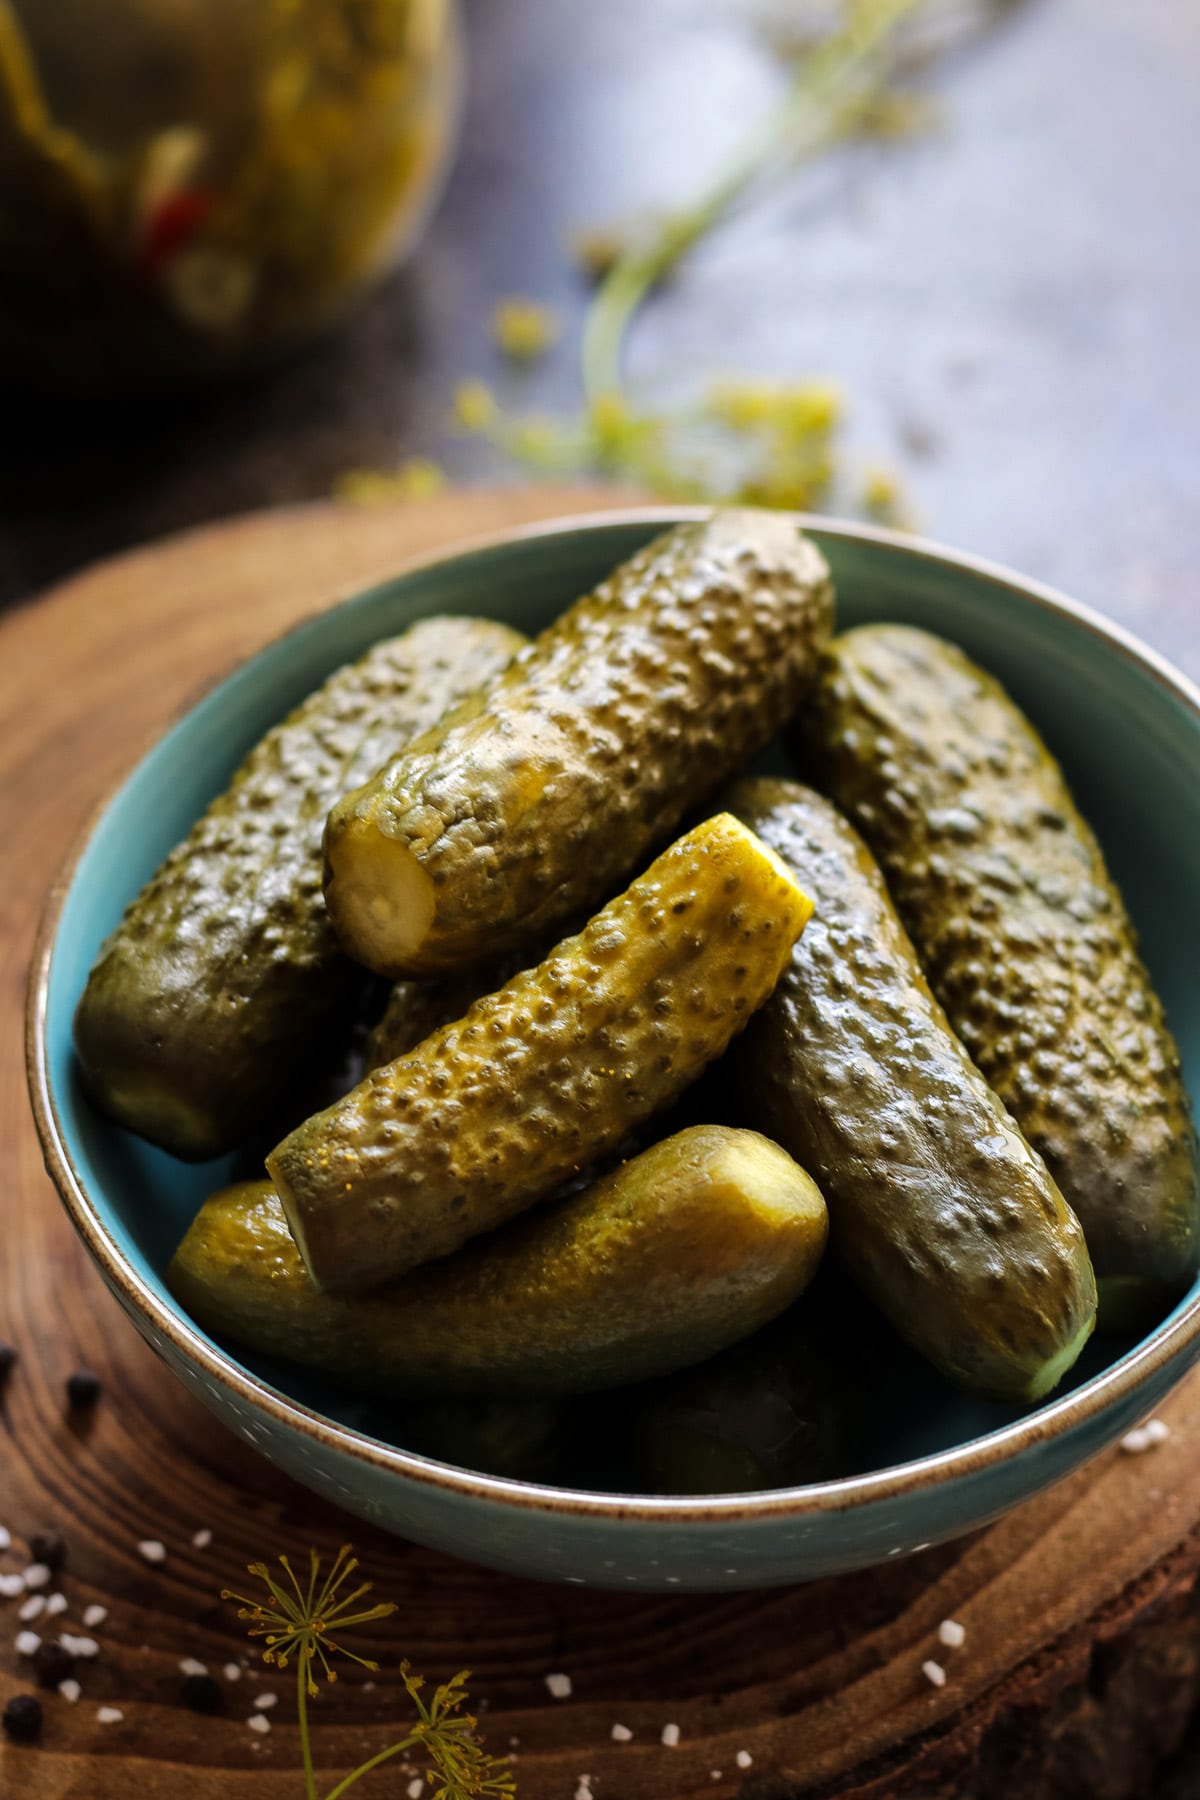
The dill pickles should be ready after that. You will see when they are ready when they change the color (see the pictures). Store an opened jar in the fridge for about two weeks.
Learning How To Can
If you are interested in canning but don't really know how to start, let me introduce you to the expert canner, Jenny Gomes from The Domestic Wildflower.
She covers everything you need to know about canning in her canning course for beginners. In the course you will have step by step video lessons, clear instructions, and foolproof recipes.
Take advantage of her wisdom and reap the health benefits of canning, save time and money by skipping the frustration and go straight to the expert source.
The best thing about this course: it's FREE!
Serving Your Homemade Dill Pickles
Now that you've made your pickles, you can serve them all year long.
They are great additions to your favorite charcuterie board, tossed in a salad, or eaten on a sandwich.
They're also great out of the jar.
And now that you know how to make quick pickled cucumbers, you can follow the same steps with other vegetables. Try making a jar with cucumbers, onions, carrots, and cabbage strips for a pickled salad.
Top Tips
- Making these Russian pickles is a great way to preserve your garden cucumber harvest. Make sure to check my grandma's pickled tomatoes recipe as well.
- Summer is the best time to make these pickles.
- These dill pickles have lots of nutritional benefits, while being naturally gluten free and vegan.
- Short bumpy cucumbers are perfect for homemade pickles. The types of cucumbers that are great for pickling are Kirby, Northern pickling cucumber, Ashley, Marketer, and more (see the whole list above).
- You'll need the whole plant of dill for this recipe, including umbrellas. If you can't find it, use fresh leaves combined with dried dill seeds.
- To quickly sterilize your jars, boil them (together with lids) for at least 15 minutes and then let them dry.
- These homemade pickles are great out of the jar or as an addition to your favorite charcuterie board, tossed in a salad, or eaten on a sandwich.
- Store an opened jar in the fridge for about two weeks or in the pantry for up to a year.
Recipe Variations
- You can follow the same steps for pickling other vegetables. Try making a jar with cucumbers, onions, carrots, and cabbage strips for a pickled salad.
- You can skip horseradish leaves if they aren't available to you. I found that it had no considerable effect on the taste.
- The main ingredients are cucumbers, salt, peppercorns and dill that should always be present in this recipe. You can adjust other ingredients according to your taste, experiment with herbs, skip chili or garlic if you prefer. You can also add sliced onions instead.
If you tried this recipe, I'd really appreciate you giving it a star rating below! I'm always happy to see your feedback on my recipes.
Russian Dill Pickles
Ingredients
- 800 grams or 1.8 lb cucumbers see notes above
- 800 ml or 3 ⅓ cups water
- 30 grams or 2 tablespoons coarse sea salt
- 3 stems dill with leaves and umbrellas
- 4 sprigs thyme
- 1 horseradish leaf optional
- 4 cloves garlic sliced
- 2 bay leaves
- 3 thin slices red chili pepper
- 1 teaspoon black peppercorns
- ⅓ teaspoon allspice
- 2 l or 2 qt canning jar sterilized (see notes above)
Instructions
Sterilize jars
- Start by sterilizing your jars. Boil them (together with lids) for at least 15 minutes and then let them dry on a clean kitchen towel.

Assemble the jars
- Wash the cucumbers thoroughly and cut the ends. Prepare the brine: In a medium pot bring water with coarse sea salt to a boil. Meanwhile, roughly chop the herbs and a horseradish leave (if using), finely slice the chili pepper (you will only need a few slices) and the garlic.
- Transfer the cucumbers into a fitting sterilized jar, placing herbs, chili and garlic slices, bay leaves, allspice and black pepper in between the cucumbers.
- When the brine is boiling, pour it into the jar and close the lid.


Let it cool
- Turn the jar upside down and let it cool slowly (You can put it on the couch and wrap tightly with a blanket for best results). Once it's cooled, let it rest for about 4 days in a cool place.
- You will see when they are ready when they change the color (see the pictures). Store an opened jar in the fridge for about two weeks. Enjoy!


Notes
Top Tips
- Making these Russian pickles is a great way to preserve your garden cucumber harvest. Make sure to check my grandma's pickled tomatoes recipe as well.
- Summer is the best time to make these pickles.
- These dill pickles have lots of nutritional benefits, while being naturally gluten free and vegan.
- Short bumpy cucumbers are perfect for homemade pickles. The types of cucumbers that are great for pickling are Kirby, Northern pickling cucumber, Ashley, Marketer, and more (see the whole list above).
- You'll need the whole plant of dill for this recipe, including umbrellas. If you can't find it, use fresh leaves combined with dried dill seeds.
- To quickly sterilize your jars, boil them (together with lids) for at least 15 minutes and then let them dry.
- These homemade pickles are great out of the jar or as an addition to your favorite charcuterie board, tossed in a salad, or eaten on a sandwich.
- Store an opened jar in the fridge for about two weeks or in the pantry for up to a year.
Recipe Variations
- You can follow the same steps for pickling other vegetables. Try making a jar with cucumbers, onions, carrots, and cabbage strips for a pickled salad.
- You can skip horseradish leaves if they aren't available to you. I found that it had no considerable effect on the taste.
- The main ingredients are cucumbers, salt, peppercorns and dill that should always be present in this recipe. You can adjust other ingredients according to your taste, experiment with herbs, skip chili or garlic if you prefer. You can also add sliced onions instead.


Sophia says
After a few weeks sitting on the counter (sealed) these pickles are significantly cloudier with what looks like white blobs floating around. Is this normal?
Elena Szeliga says
A little cloudiness and harmless white floaties (often yeast or garlic residue) can be completely normal with fermented or brined pickles. If the jar stayed sealed and there’s no off smell, sliminess, or mold, they’re usually safe and just developing flavor. If anything smells or tastes unpleasant though, it’s best to discard them to be safe.
Nicoleta says
They're as russian as Romanian, Polish, Belarusian, Ukrainian, etc
Elena Szeliga says
Pickles are so typical for Eastern-European countries. I'm not sure about regional differences though. I posted a recipe my grandma used, and she is Russian.
Ciara says
Hello,
I’m a first-time pickler! I was just wondering if the jars need to be stored upside down or just left that way while they cool? I don’t want to accidentally break a seal...
Thank you for the recipe, we can’t wait to try them!
Ciara
Elena Szeliga says
Hi @Ciara, so excited for you! Just keep them upside down while they cool. Hope you enjoy them!
Lori Hallas says
This was my first time making a fermented pickle. I didn’t use the thyme or horseradish leaves. I added a few tea leaves for tannins instead. I kept these out for 6 days then moved them to the fridge. They are great! I was worried they might be soft but they are nice and crisp. This is a wonderful recipe!
Elena Szeliga says
Hi Lori, thank you so much for sharing your feedback! I'm happy you enjoyed these pickles!
Kim Koch says
How might this recipe work with a fermenter? Hot brine makes it more a "Quick Pickle". Fermented pickles have a much longer life and there are many health benefits from eating fermented foods. Thanks!
Elena Szeliga says
Hi Kim! That's a very good question. I've never tried to ferment cucumbers other than in a traditional Russian way. However, I think you can just try it with cold water instead of hot (keeping the herbs and spices) and maybe slice your cucumbers beforehand. I would be really interested in the result! Please let me know how it turned out if you decide to give this a try. Hope it was helpful!
Billy says
I appreciate an article that includes such detailed and aesthetic pictures of the process so it is incredibly easy to follow. I love having visual representations of all the steps so there is no way of me messing up any part of the process! Thank you for sharing this great recipe. I can't wait to try it at home!
Elena Szeliga says
I'm very happy you like it Billy! Hope you'll enjoy the recipe!